Description
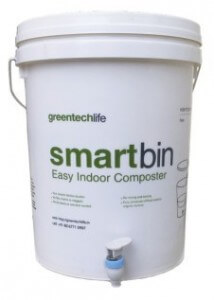
Free yourself from stage II layering forever by upgrading
your existing Smartbins to the all new Smartbin Air
How to use your smartbin air as your kitchen dustbin
for insect & odor free composting (if you have a microwave at home)
Step 1

In a 500ml microwave safe bowl collect all your food waste. Everything goes – even cooked food, cirtus, dairy, non-veg etc.
Remember no liquids: strain gravies and only collect the solids.
Keep the bowl tightly covered at all times.
Remember no liquids: strain gravies and only collect the solids.
Keep the bowl tightly covered at all times.
Step 2
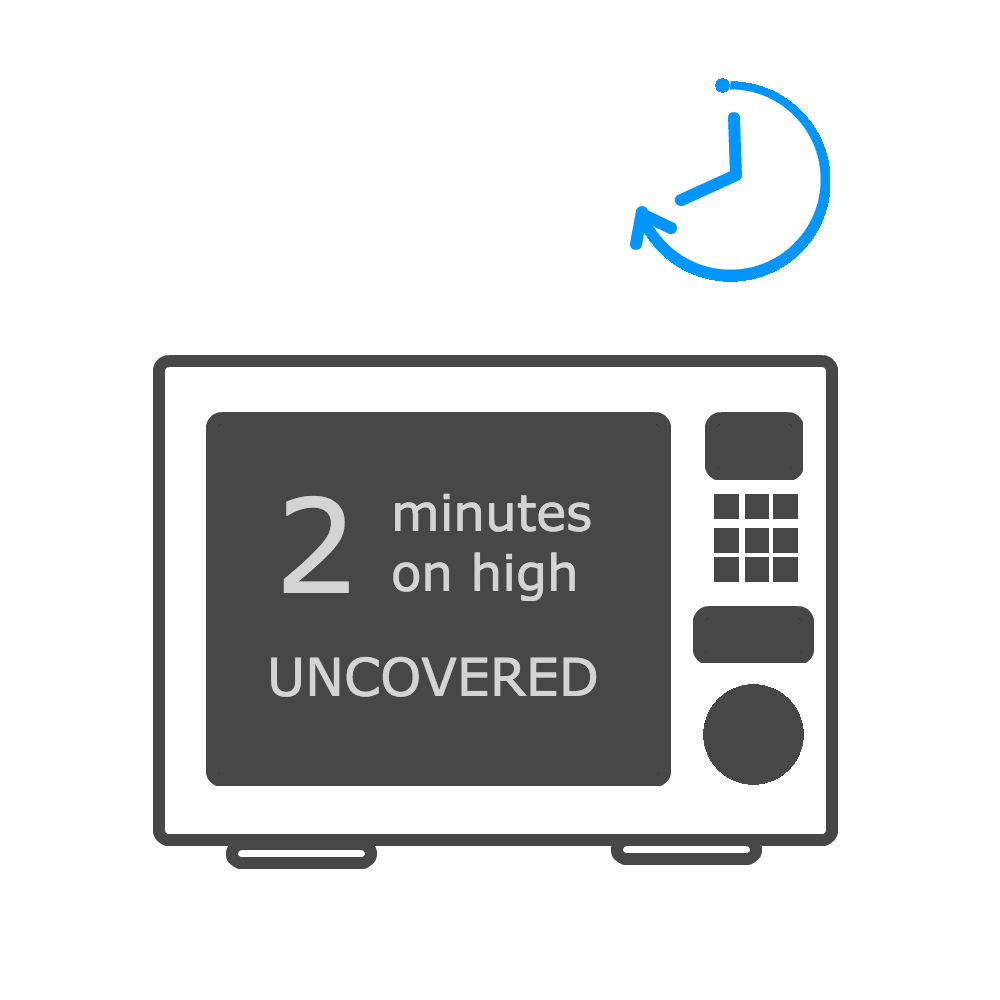
Once the bowl is full, microwave on high, uncovered for 2 minutes.
Allow it to cool inside the oven itself.
This stops insect eggs from hatching into worms or maggots inside your Smartbin Air.
Step 4
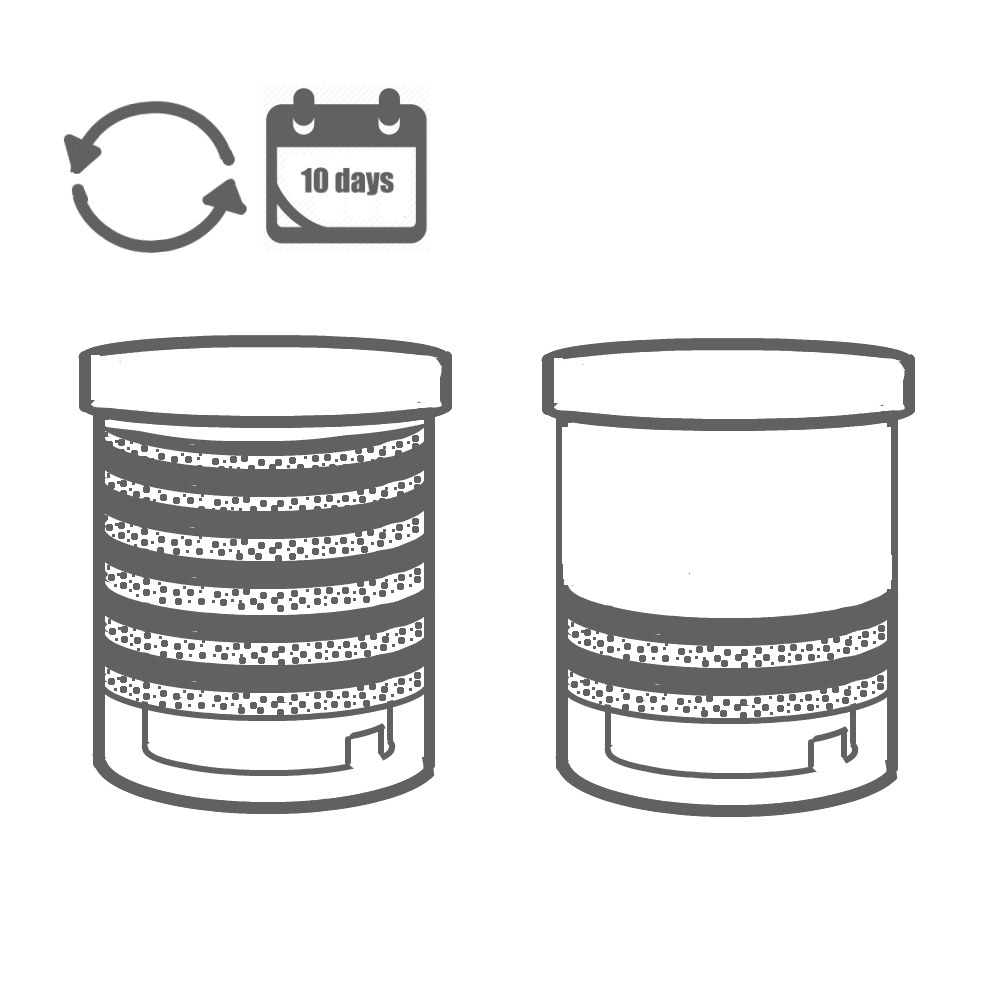
Repeat steps 1 to 3, till the bin fills. Ensure the waste doesn’t touch the bottom of the lid.
Then keep the bin aside indoors for 10 days and start using the next bin.
Then keep the bin aside indoors for 10 days and start using the next bin.
Step 5

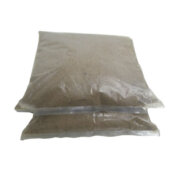
After 10 days transfer the contents to the curing bag and tie the mouth of the bag tightly. Leave it to cure for 20 to 30 days and your compost will be ready!
Step 6
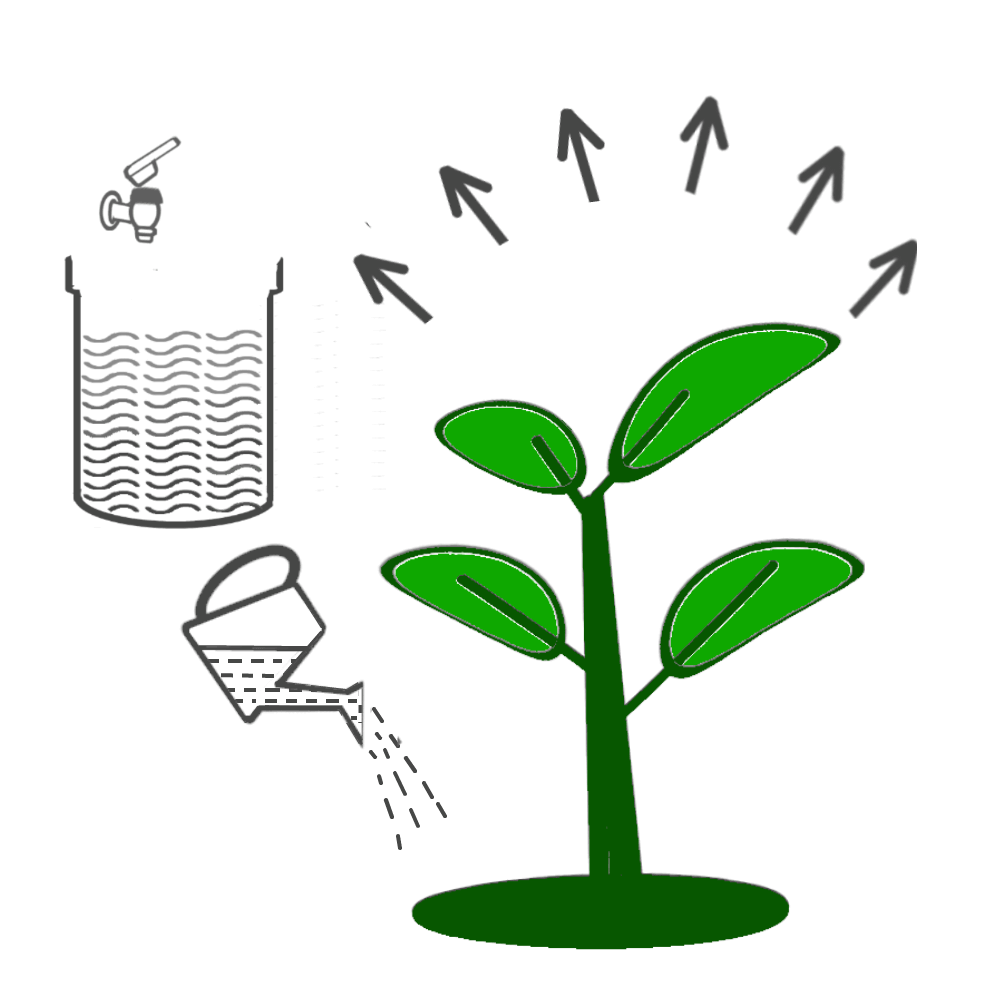
Once you empty the Smartbin Air, fill it with water to dilute the smartbrew accumulated at the bottom. Water your plants with this liquid to see the magic of smartbrew!
Don’t have a microwave?
replace the first three steps above with these
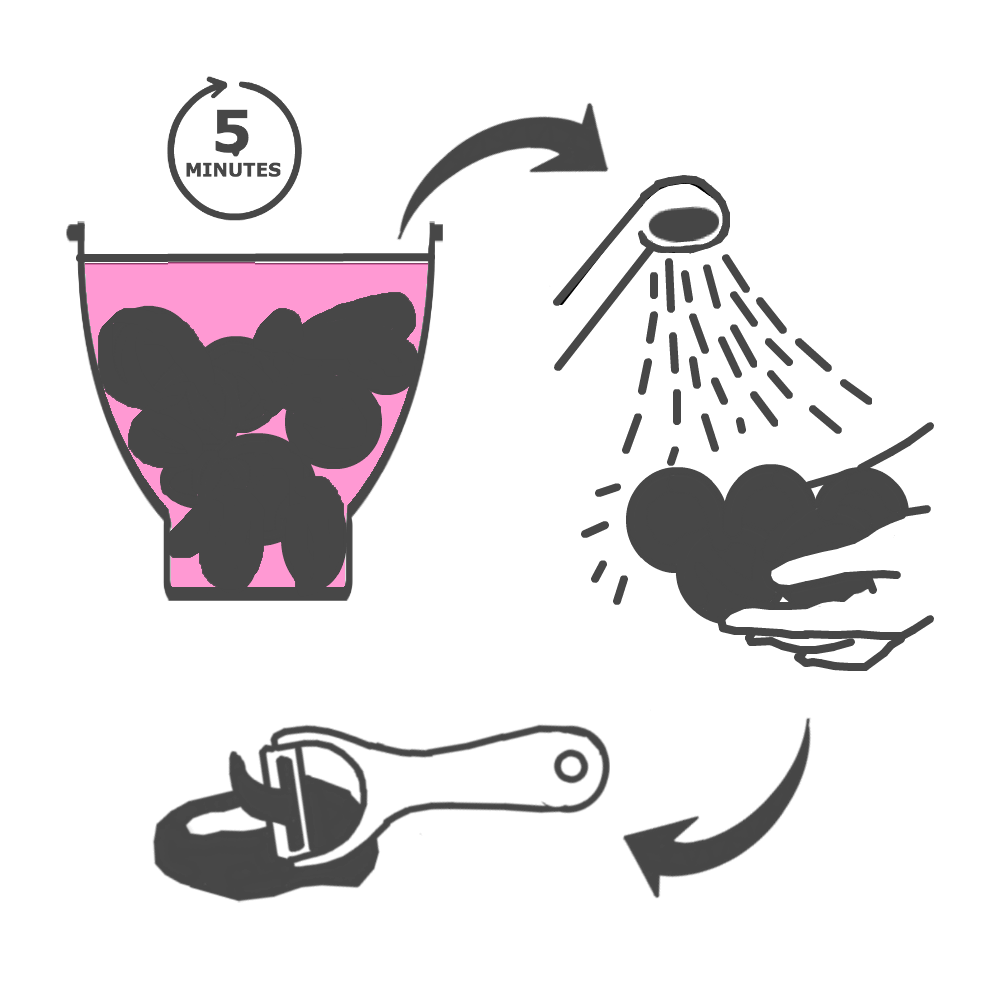
1. Soak first, rinse thoroughly & then peel
2. Air tight container to collect waste
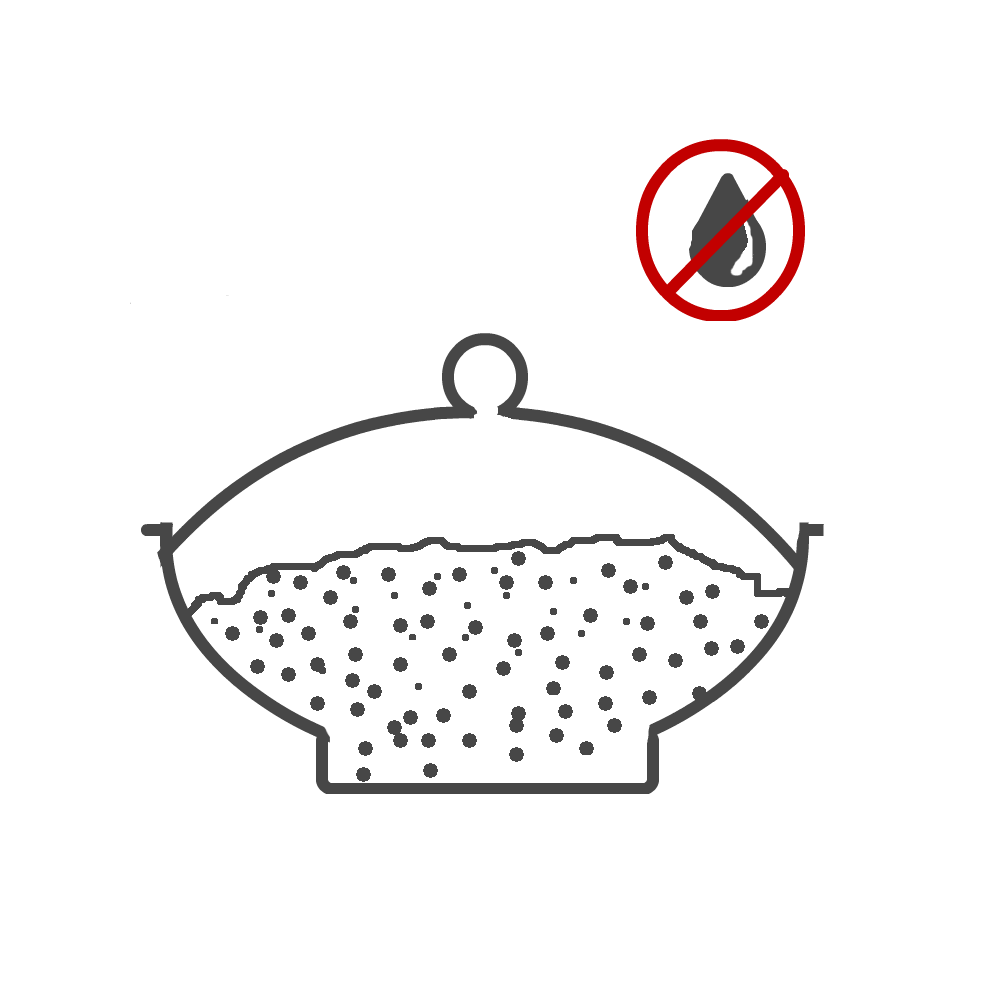
Instead of a microwave safe bowl, use any air tight container to collect all your food waste.
Never allow flies to enter this container, or leave food waste exposed.
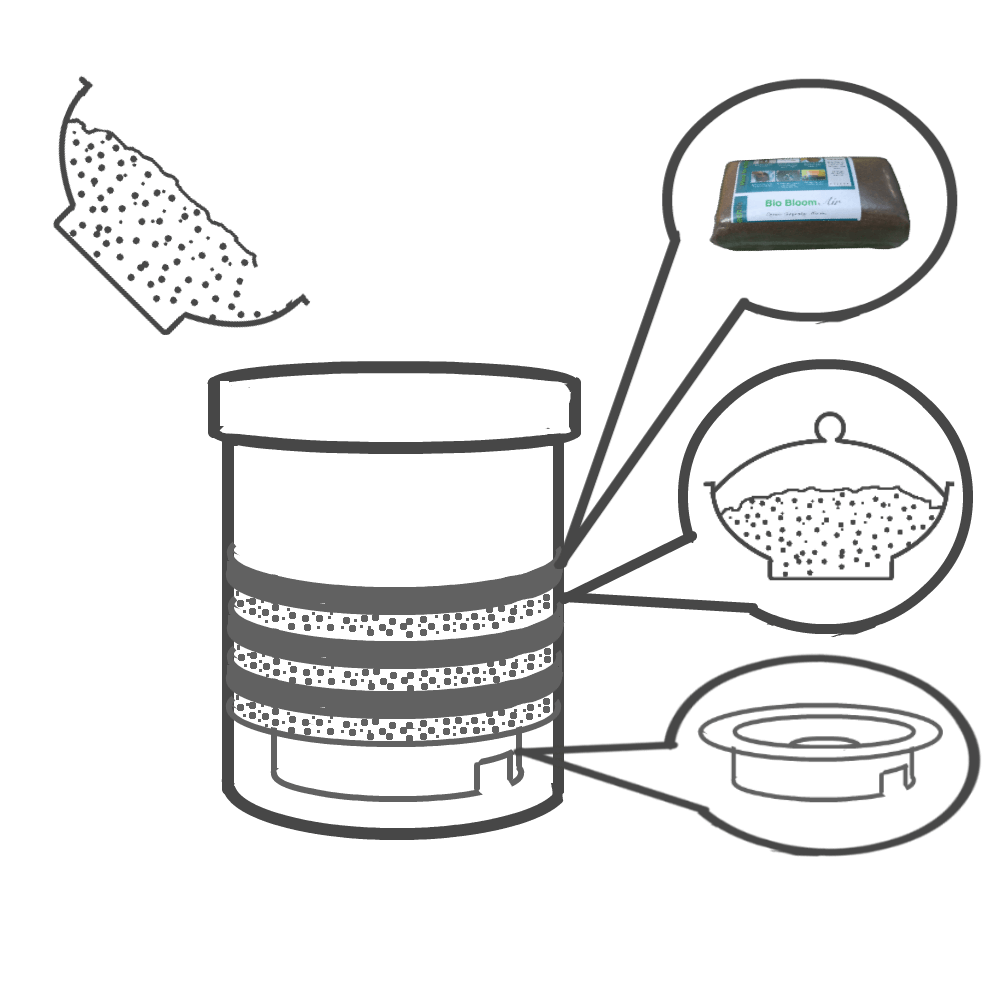
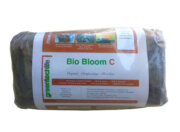
Once full, empty it into the Smartbin Air & cover with a layer of Bio Bloom Air & close the lid.
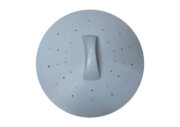
3. Rinse the lids daily

Smartbin Air lids are insect proof. If an egg survives the soaking & washing & hatches inside the bin, it turns into a tiny white worm & then into a cocoon that looks like a grain of brown rice at the bottom of the lid.
Inspect daily and wash them off if you ever see them. While washing the lids cover the bins with a cloth.
Inspect daily and wash them off if you ever see them. While washing the lids cover the bins with a cloth.
the remaining steps are exactly the same as the steps 4 to 6 above
Step 4
Repeat steps 1 to 3, till the bin fills. Ensure the waste doesn’t touch the bottom of the lid.
Then keep the bin aside indoors for 10 days and start using the next bin.
Then keep the bin aside indoors for 10 days and start using the next bin.
Step 5
After 10 days transfer the contents to the curing bag and tie the mouth of the bag tightly. Leave it to cure for 20 to 30 days and your compost will be ready!
Step 6
Once you empty the Smartbin Air, fill it with water to dilute the smartbrew accumulated at the bottom. Water your plants with this liquid to see the magic of smartbrew!


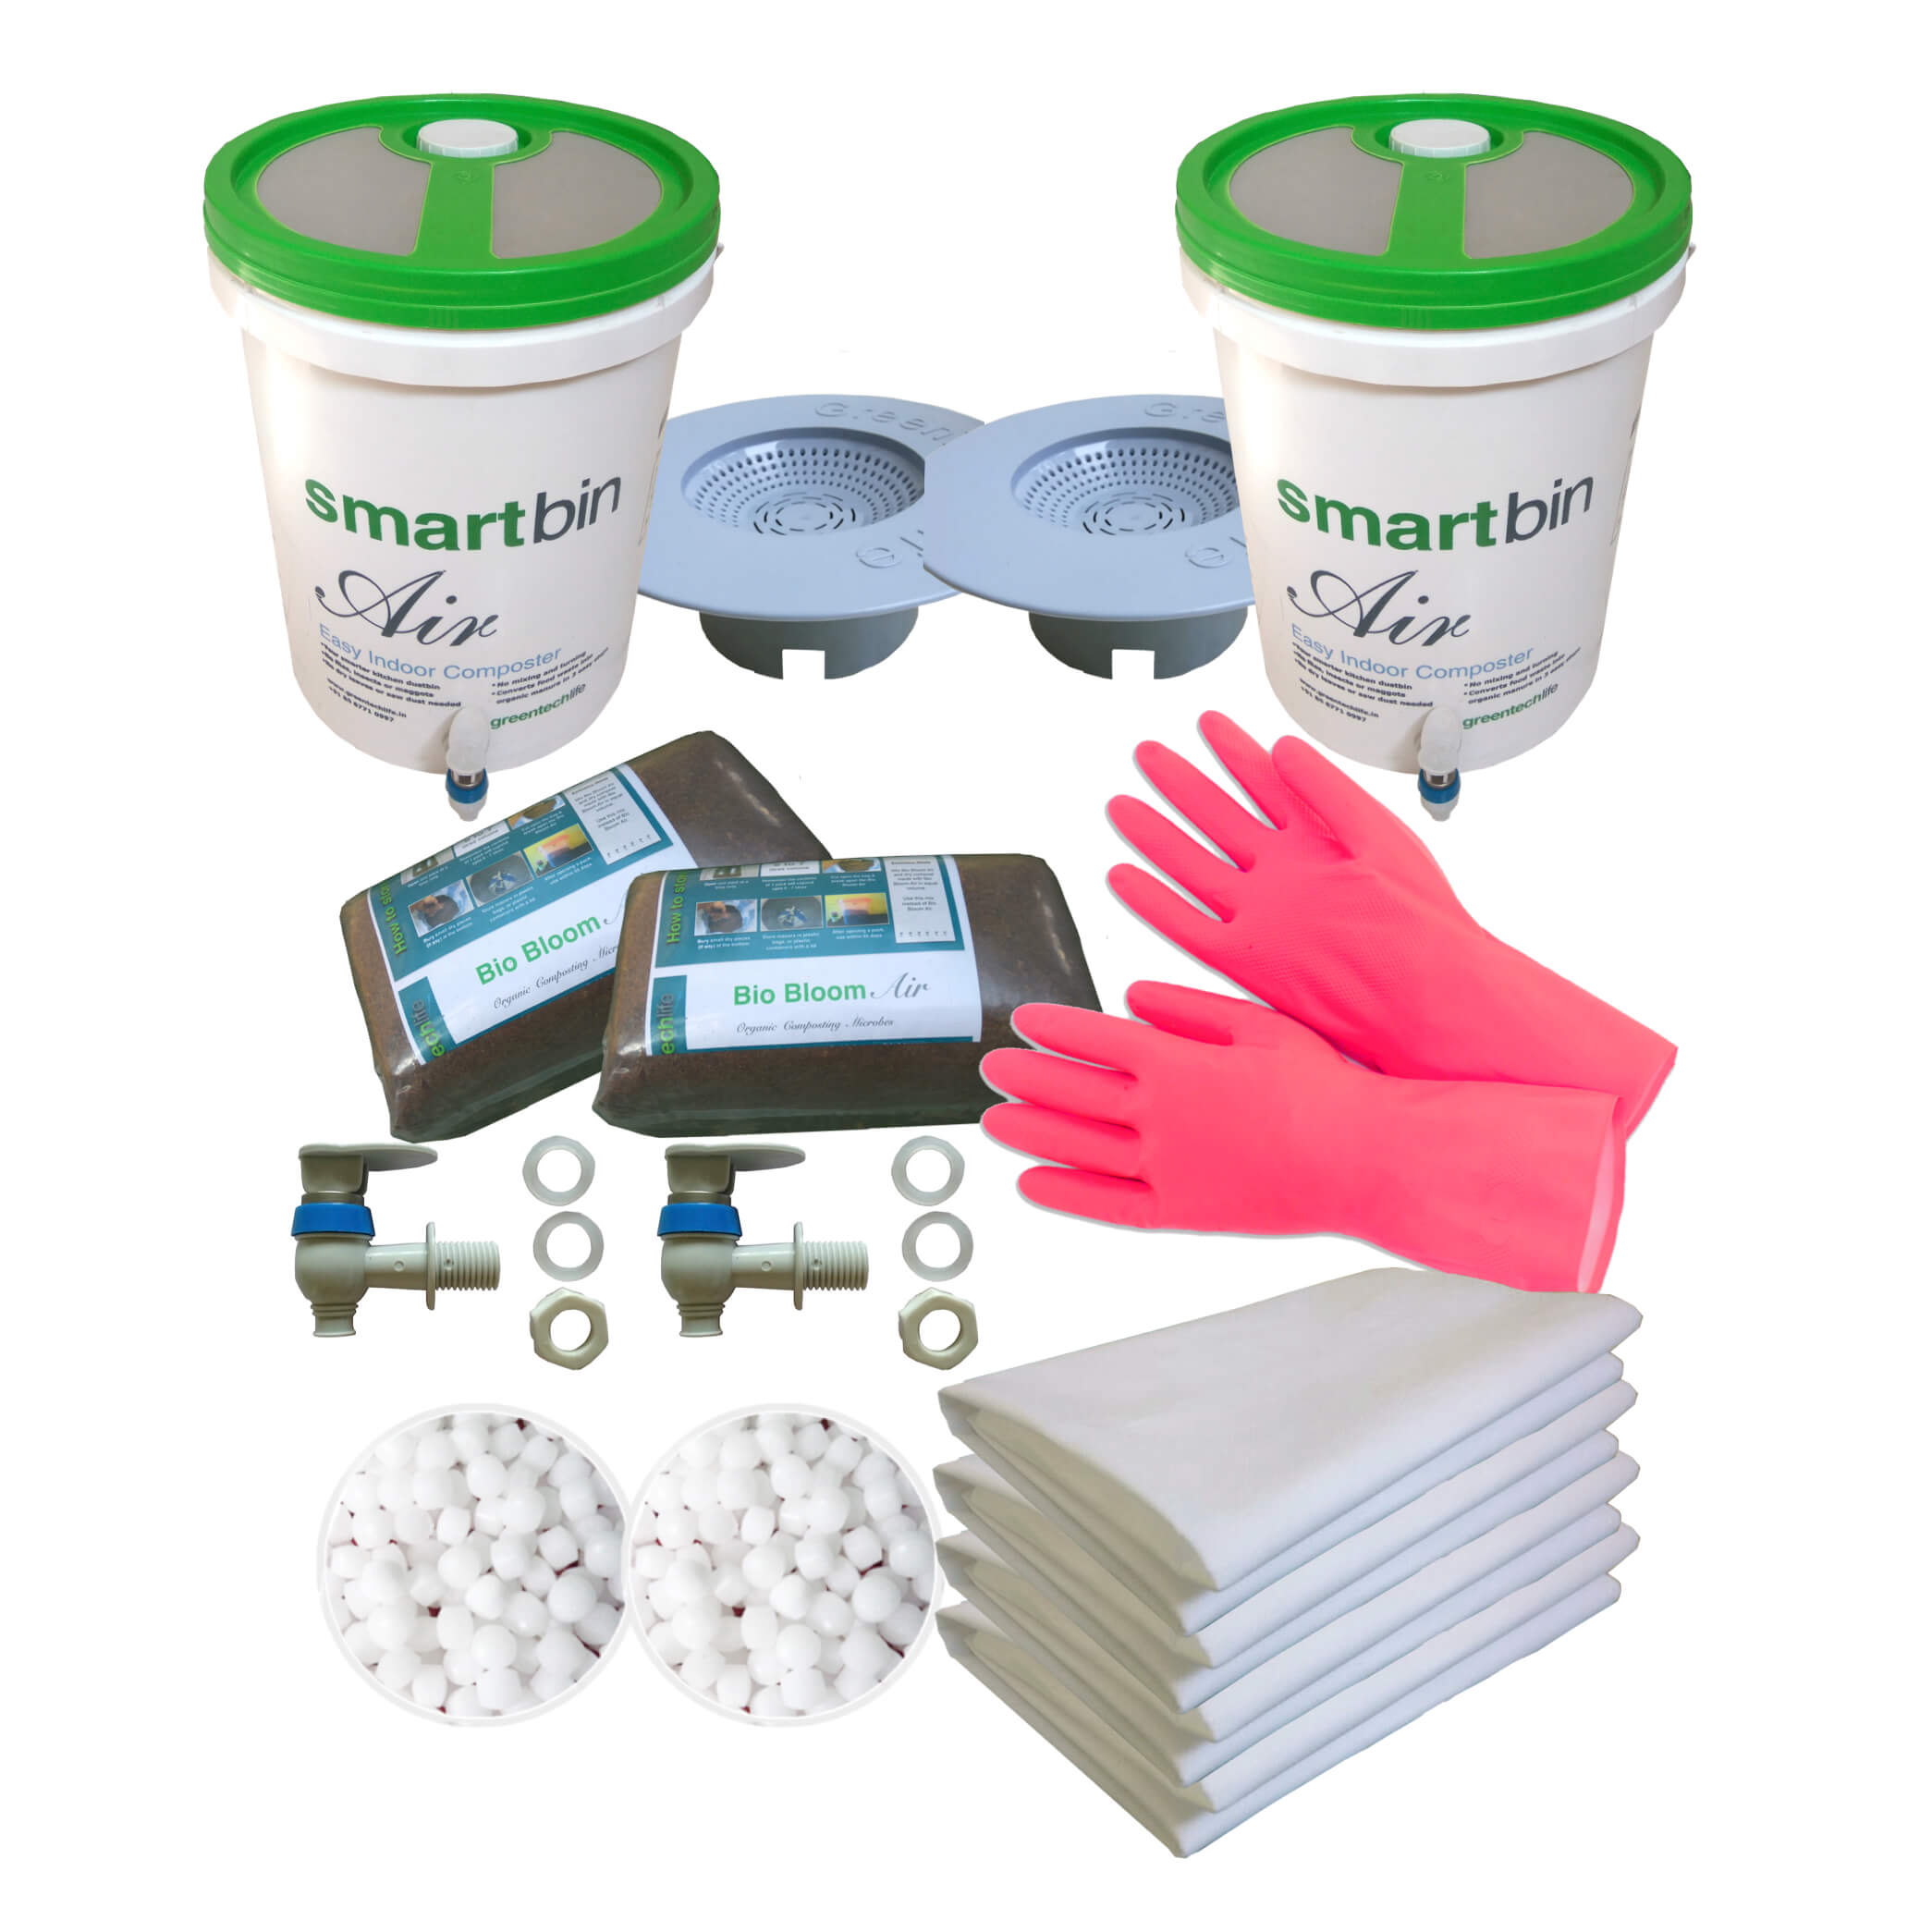
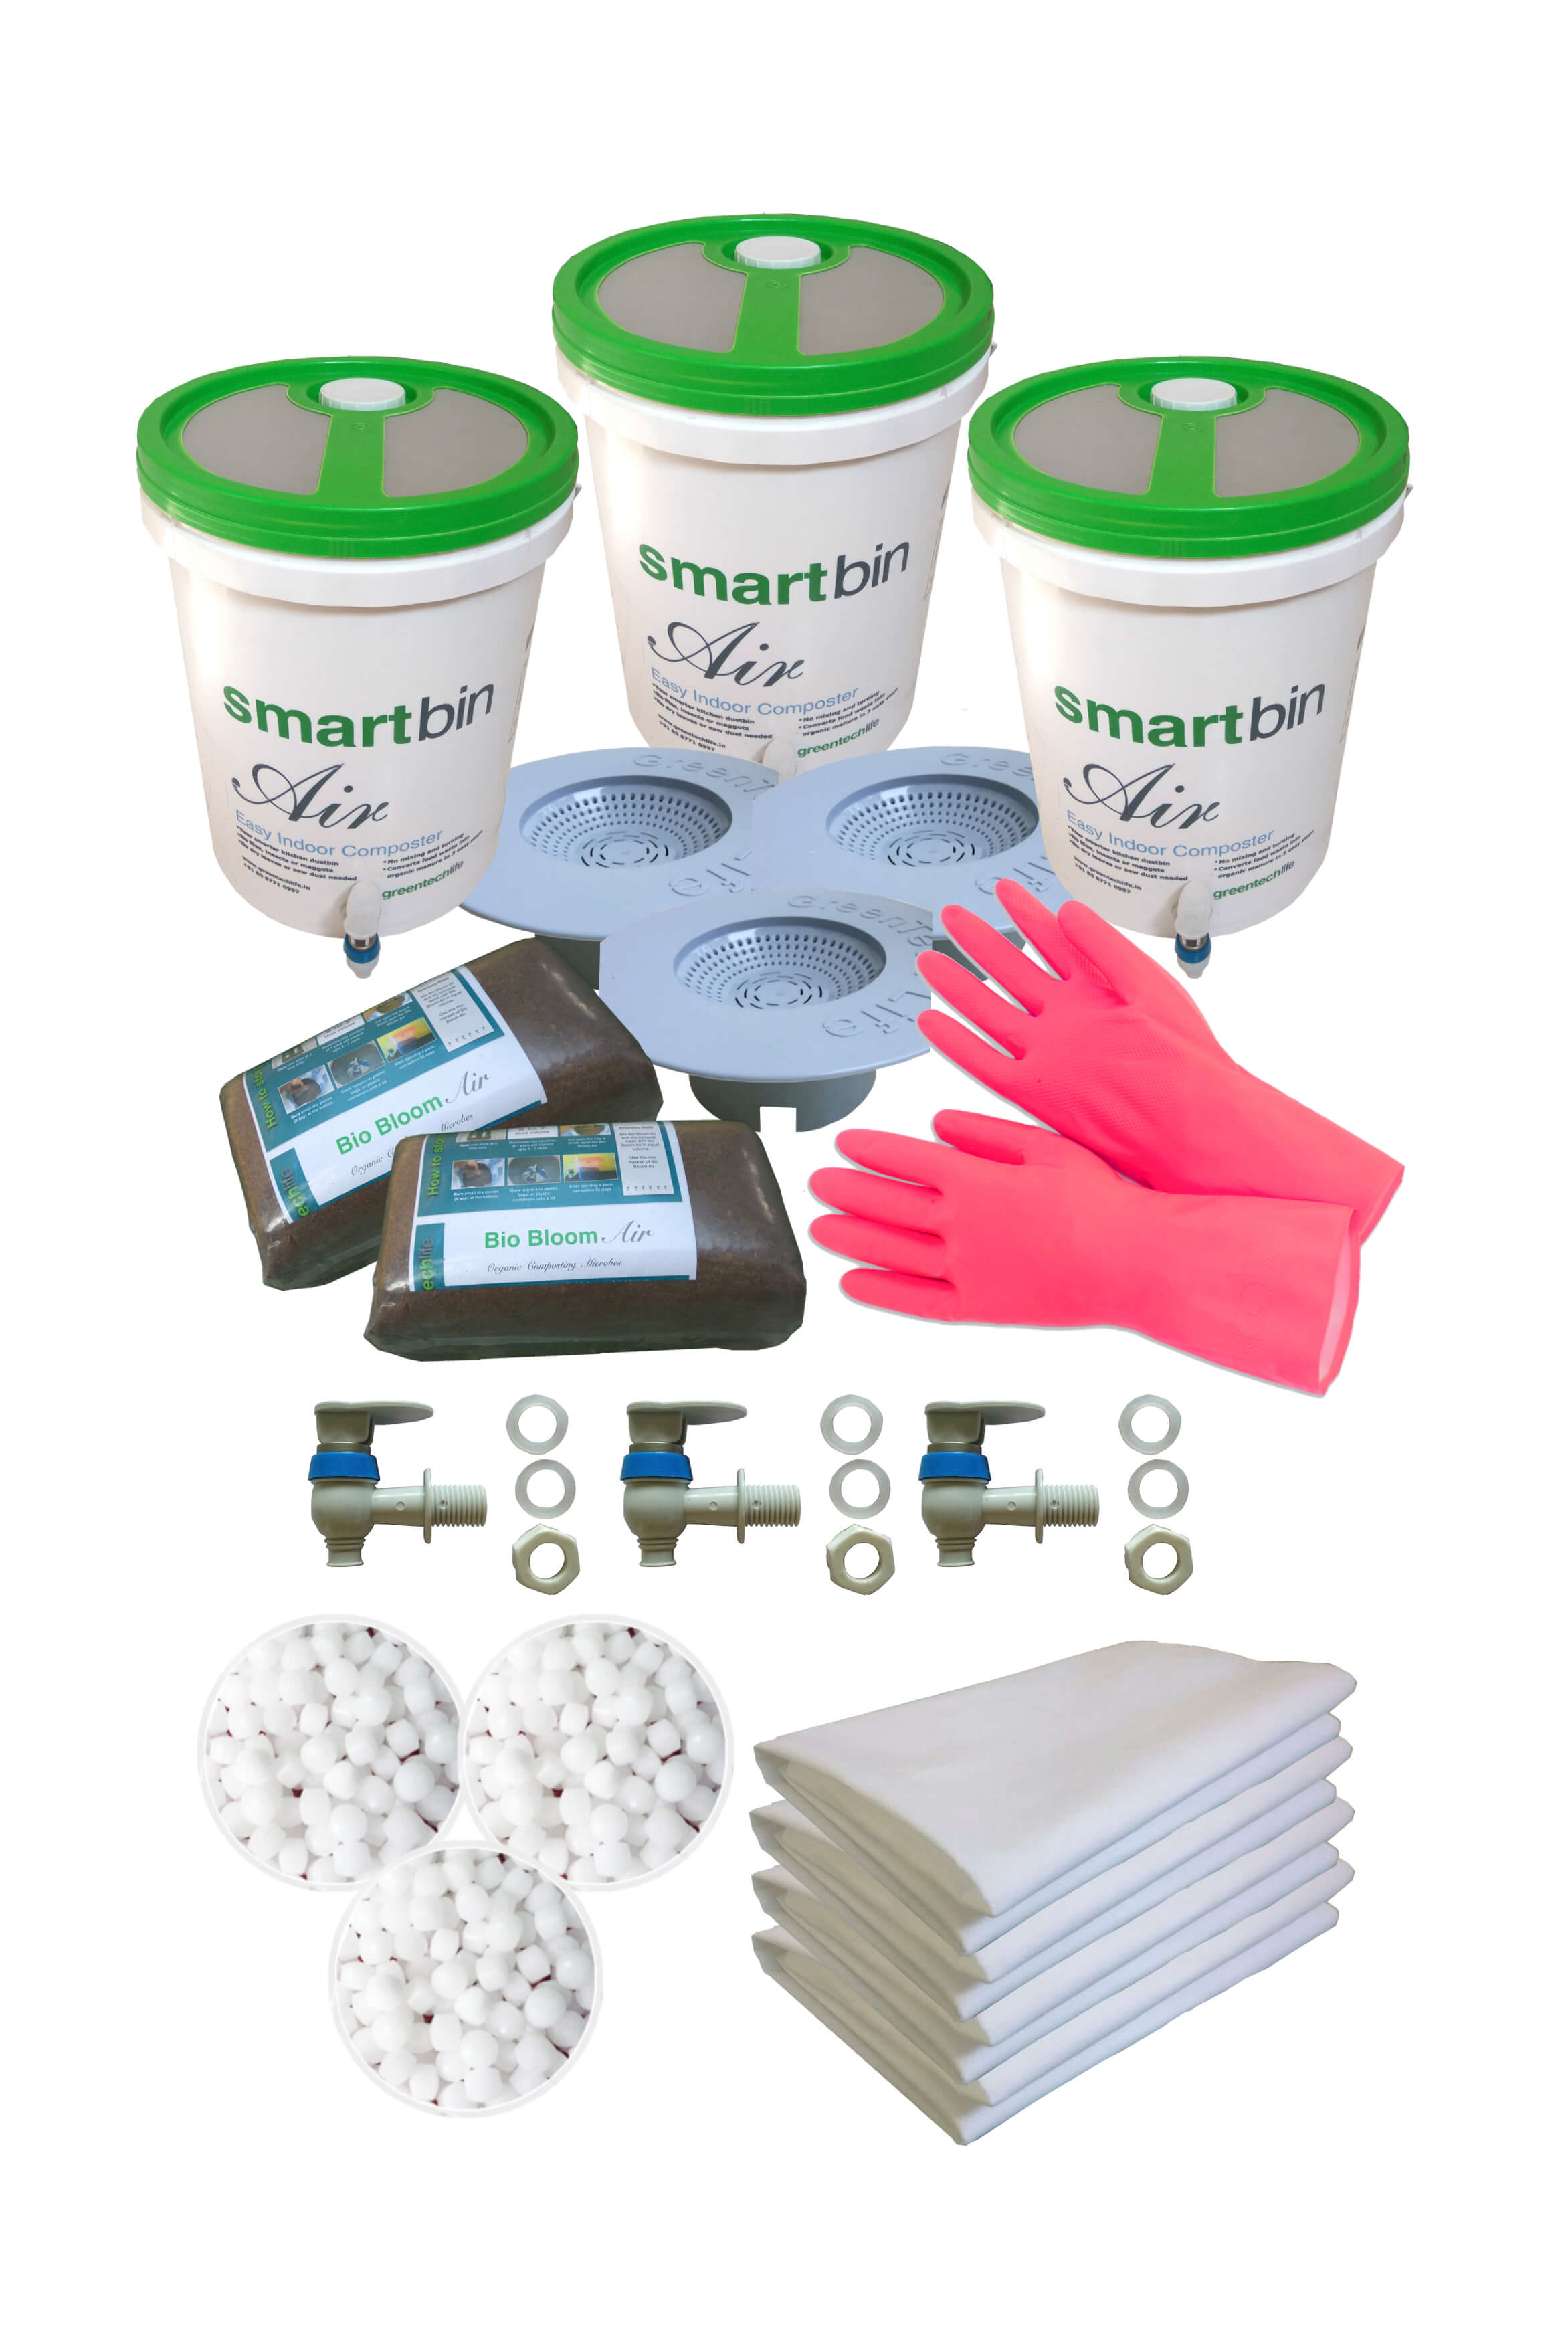

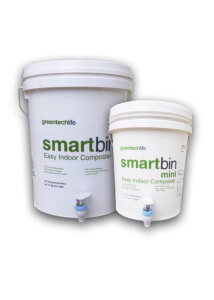 Smartbins or Smartbin Minis
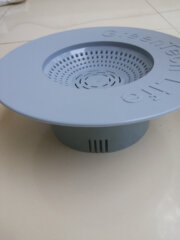
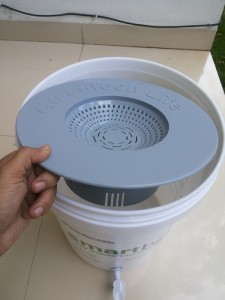 Strainers
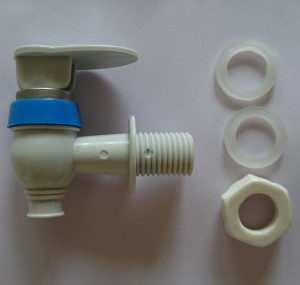 Taps
Taps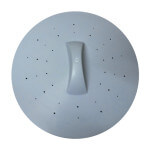 1 Smartpress
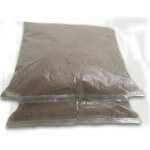 2 packs of Bio Bloom
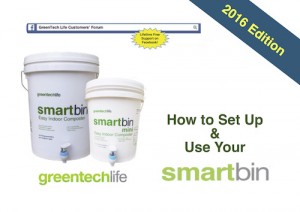 1 How to use printed
 Free home delivery all over India